28
Jun
Jun
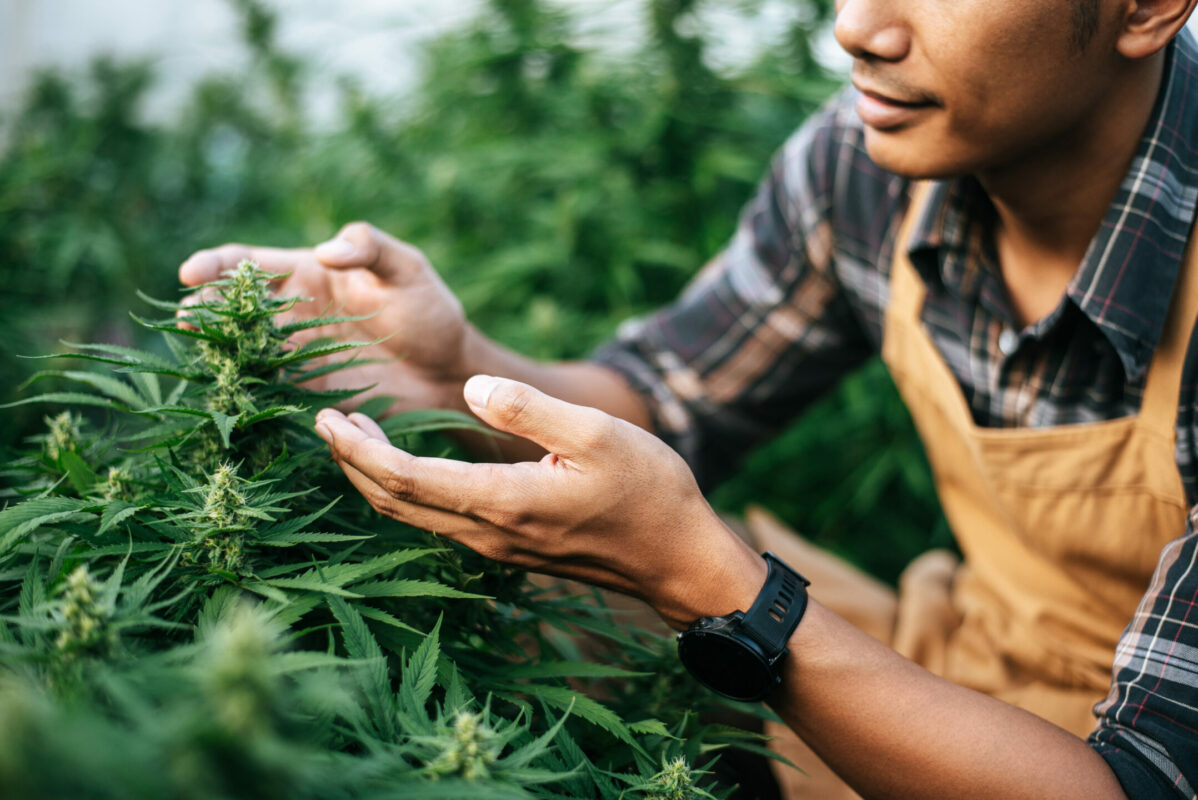
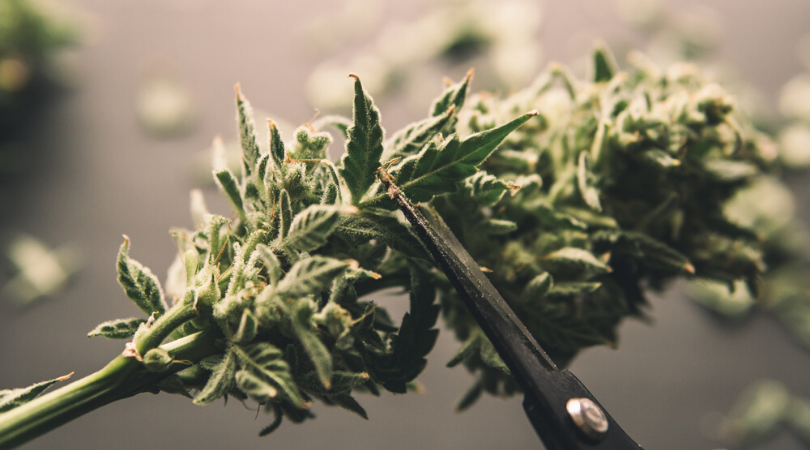
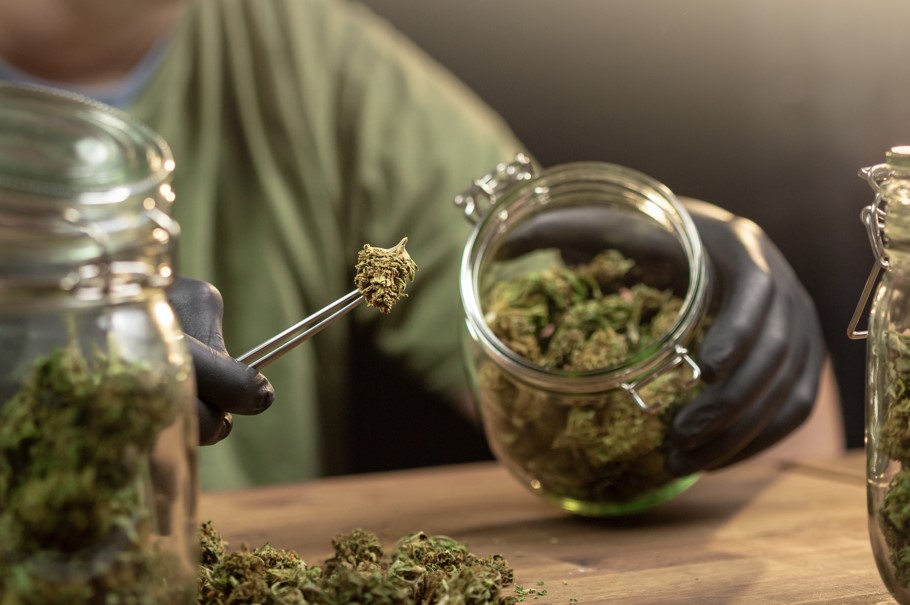
Weed trimming should become a part of your weed-growing routine. And there are quite a few reasons supporting this claim. We know that trimming weed might not be the most fun activity out there, but it is a rewarding chore that will pay off in a richer taste and a higher price tag for your…