If you want to start growing cannabis, then you probably already know that this process requires a lot of research and preparation before you can dive into actually planting the seeds and tending to your plants. It might be less difficult than cultivating other, more demanding plants, but the idea that growing top-shelf weed is easy is a major misconception.
While you don’t have to be a full-time gardener to be able to grow weed successfully, you’ll still need to put in quite a bit of work into ensuring that your plants come out exactly the way they’re intended to. Knowing about the different stages of weed growth and what are the specific requirements of your plant during each stage can go a long way in terms of properly tending to your plants. In this article, we’ll go over each cannabis growth stage in detail. By the time you’re done reading, you’ll have a solid understanding of the work you’ll need to put in every step of the way.
How Long to Grow a Marijuana Plant?
The entire duration of the growth process of your weed plant will depend on a number of factors, such as seed type, strain, and growing conditions. Generally, it takes anywhere between 10 and 32 weeks. In other words, you’re going to have to wait 3-8 months to see (and smoke) the results of your hard work. This is not to say that all it takes is just planting the seeds in the soil and watering them from time to time. If you want to harvest high-quality buds, you should check in on your plants every single day, ensuring that they get enough sun and remain at the right temperature at all times.
Your plants will also grow differently depending on whether you grow them indoors or outdoors. Indoor growing generally gives you a lot more flexibility when it comes to creating exactly the right environment for plants to yield the most flowers. On the other hand, indoor growing kits and equipment are quite expensive and require a lot of space. Not everybody has the money and living conditions to set up an indoor growing environment.
For those people, going outdoors is pretty much the only way to go about growing weed. While it’s a perfectly fine approach, it opens you up to a whole lot of additional factors, such as weather changes, insects, and a myriad of other things that could potentially stunt the growth of your weed plants.
Stages of Weed Growth: An Overview

There are four main growing stages of weed:
- Germination (3-10 days): that’s when your seed starts sprouting,
- Seedling (2-3 weeks): during this stage, you’ll begin to see the taproot and the very first set of leaves,
- Vegetative (3-16 weeks): a key phase, when your cannabis plant will form its core structure, start branching, and extend its roots,
- Flowering (7-9 weeks): the final stage when the plant develops the thing you’ve been waiting for since the beginning: the flower buds.
Below, we’ll take a look at each one of these stages in more detail, outlining some of the main things you need to take into account when tending to your plants at each stage of weed.
Germination
Germination is the first stage of marijuana plant growth, where the seed begins to sprout and develop into a seedling. This process typically takes between 3 to 10 days, depending on the strain and environmental conditions. To ensure successful germination, follow these steps:
- Choose high-quality seeds: Selecting seeds from a reputable source is crucial for successful germination. Look for seeds with a dark brown or black color and a hard shell.
- Prepare a moist environment: Cannabis seeds require a moist environment to germinate. You can use a paper towel, peat pellets, or a seedling starter tray. Moisten the chosen medium and place the seeds about an inch apart.
- Maintain optimal temperature and humidity: The ideal temperature for germination is between 70-80°F (21-27°C), while the relative humidity should be around 70%. Use a heat mat and a humidity dome to maintain these conditions.
- Monitor the seeds: Check the seeds daily for signs of germination, such as the emergence of a taproot. Once the taproot is visible, it’s time to transplant the seedling into a suitable growing medium.
Seedling
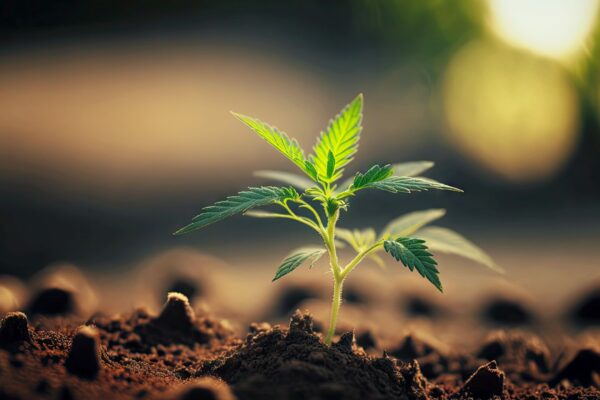
The seedling stage begins once the taproot emerges from the seed and lasts for about 2 to 3 weeks. During this stage, the plant develops its first set of leaves, called cotyledons, followed by its true leaves. To care for seedlings, follow these guidelines:
- Provide adequate light: Seedlings require 18-24 hours of light per day. Use a full-spectrum LED or fluorescent light, positioned 2-4 inches above the seedlings to prevent stretching.
- Maintain proper temperature and humidity: Keep the temperature between 68-77°F (20-25°C), and the humidity at roughly 60-70%. Adjust your heat mat and humidity dome accordingly.
- Water cautiously: Overwatering can lead to root rot and other issues. Water the seedlings sparingly, ensuring the growing medium remains moist but not saturated.
- Monitor for pests and diseases: Inspect your seedlings regularly for signs of pests or diseases, and address any issues promptly.
Vegetative
The vegetative stage is a crucial phase in the life cycle of a cannabis plant, as it is when the plant focuses on developing its structure, including roots, branches, and leaves. This stage typically lasts between 3 to 16 weeks, depending on the strain and growing conditions. During this time, the plant requires specific care and attention to ensure healthy growth and a successful transition to the flowering stage.
- Lighting: During the vegetative stage, cannabis plants require ample light to support their growth. Provide 18 to 24 hours of light per day, using full-spectrum grow lights that mimic natural sunlight. This will encourage the plant to grow strong branches and large leaves, which are essential for photosynthesis.
- Temperature and Humidity: Maintain a consistent temperature between 70-85°F (21-29°C) and a relative humidity of 40-70%. This will create an optimal environment for the plant’s growth and help prevent issues such as mold and pests.
- Nutrients: Cannabis plants require a balanced mix of nutrients during the vegetative stage, with a focus on nitrogen, phosphorus, and potassium (N-P-K). Use a nutrient solution specifically designed for the vegetative stage, and follow the manufacturer’s instructions for proper dosage. Additionally, ensure that the pH of the nutrient solution is between 5.5 and 6.5 for optimal nutrient absorption.
- Watering: Water your cannabis plants regularly, ensuring that the soil remains consistently moist but not waterlogged. Overwatering can lead to a whole host of problems for your plant, so it’s essential to monitor the moisture level of the soil and adjust your watering schedule accordingly.
- Pruning and Training: Regular pruning and training during the vegetative stage can help maximize the plant’s yield during the flowering stage. Techniques such as topping, low-stress training (LST), and screen of green (SCROG) can help create an even canopy and encourage the growth of multiple colas.
Flowering
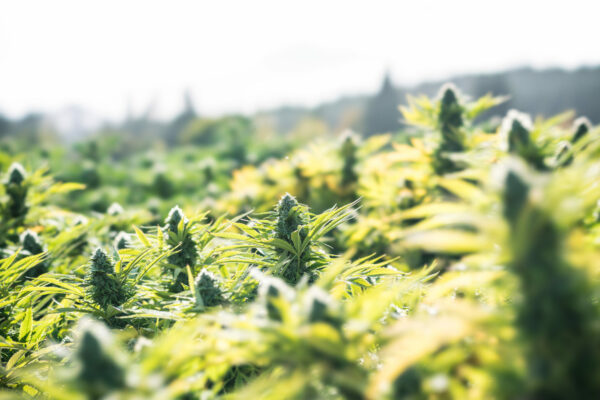
The flowering stage typically lasts between 7 to 9 weeks, depending on the strain of cannabis being grown. This is when the plant grows the highly sought-after buds. Indica strains generally have a shorter flowering period, ranging from 7 to 8 weeks, while sativa strains may take 9 to 10 weeks or more. It is crucial to be familiar with the specific strain you are growing, as this will help you determine the optimal time to harvest your plants.
During the flowering stage, cannabis plants require specific environmental conditions to thrive. One of the most important factors is the light cycle. To initiate flowering, cannabis plants need a 12-hour light and 12-hour dark cycle. This shift in light exposure mimics the natural change in daylight hours that occurs during the fall season, signaling to the plant that it is time to produce flowers.
Temperature and humidity also play a significant role in the flowering stage. Ideal temperatures range from 65 to 80 degrees Fahrenheit (18 to 26 degrees Celsius), with a slight drop in temperature during the dark period. Humidity levels should be gradually reduced throughout the flowering stage, starting at around 50% and decreasing to 40% by the final weeks. This reduction in humidity helps prevent mold and mildew growth, which can be detrimental to your plants.
Proper care during the flowering stage is crucial for a successful harvest. Here are some key tips to keep in mind:
- Nutrient management: Cannabis plants require different nutrients during the flowering stage compared to the vegetative stage. Specifically, they need higher levels of phosphorus and potassium, which promote bud development. Be sure to use a nutrient solution specifically formulated for the flowering stage and follow the manufacturer’s instructions for proper application.
- Pruning: Pruning your plants during the flowering stage can help direct energy towards bud production. Remove any dead or yellowing leaves, as well as any small, underdeveloped buds that are unlikely to mature fully. This will allow the plant to focus its resources on the larger, more promising buds.
- Support: As buds grow and become heavier, branches may require additional support to prevent them from breaking. Use stakes, trellises, or other support structures to help keep your plants upright and ensure proper airflow around the buds.
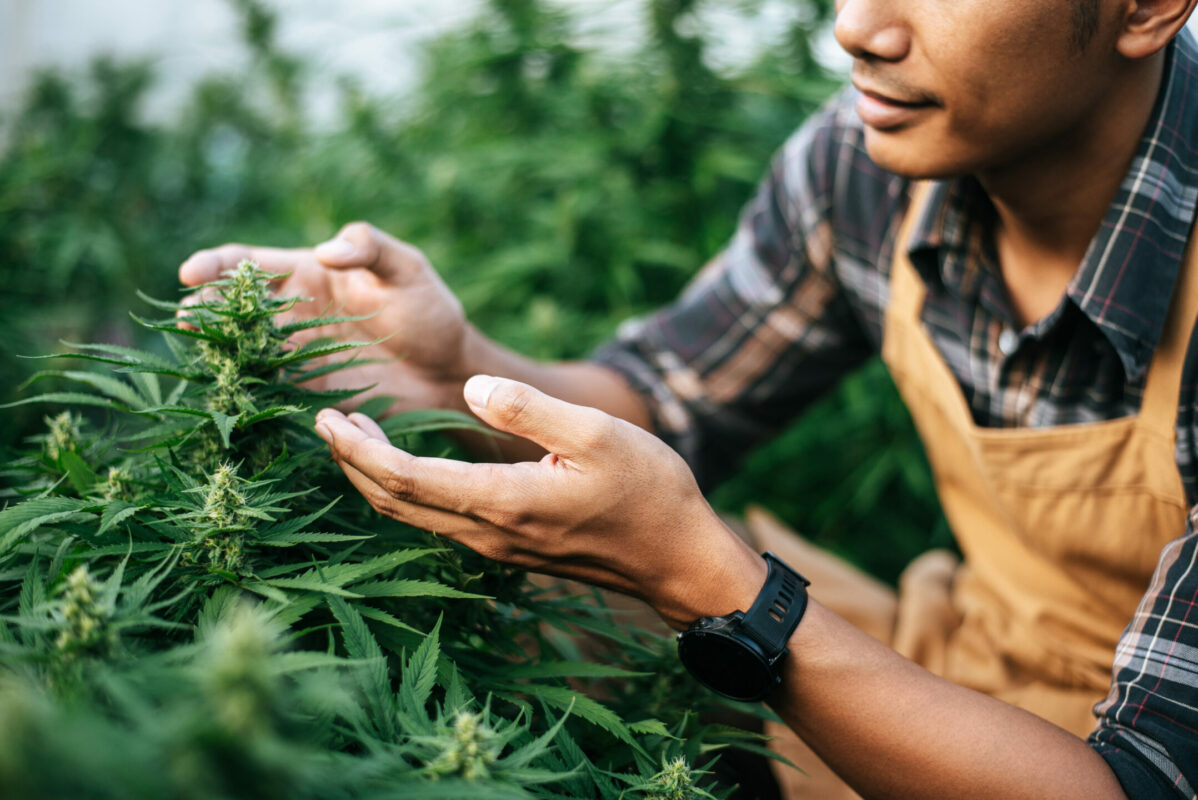
- Monitoring: Keep a close eye on your plants during the flowering stage, checking for signs of pests, diseases, or nutrient deficiencies. Address any issues promptly to prevent them from impacting the health and yield of your plants.
By understanding the nuances of the flowering stage and providing your cannabis plants with the proper care and attention, you can maximize your chances of a bountiful harvest. Remember that patience and diligence are key, as the flowering stage is the culmination of your efforts in growing weed.
Outdoor vs. Indoor Growing: Main Differences
While the growing stages of weed remain the same regardless of whether you grow indoor or outdoor plants, you will inevitably encounter some key differences between the final products depending on where you choose to grow them.
For starters, because of the lack of indoor constraints, outdoor plants usually tend to grow much larger than indoor-grown weed plants. Therefore, your outdoor yield could turn out to be much higher than if you chose to cultivate your weed inside. However, high quantity doesn’t necessarily mean high quality.
Indoor-grown buds have a reputation for being prettier, more dense, and overall better than their outdoor counterparts. Thanks to the highly controllable environments they grow in, they won’t look as worn-out and dark-colored as outdoor weed, which has to withstand all sorts of weather conditions, pests, and dirt before harvesting. The outdoor conditions also affect the flavor of weed – indoor buds will tend to come out tasting much better, and won’t smell of dirt as much as outdoor weed.
With all that said, however, it’s important to note that outdoor pot isn’t necessarily worse than indoor strains in terms of getting you high. After all, that depends on the THC content of the plant, which remains unchanged regardless of where it was grown.
Final Thoughts
Cannabis, just like any other plant, goes through a number of different plant stages before it is fully grown. You need to tend to it carefully at every step of the process if you want to enjoy delicious, high-inducing buds once the harvesting time rolls around. Aside from proper care when your plant is growing, one of the main factors affecting the quality of your weed are the seeds you plant. If you’re on the lookout for some top-shelf cannabis seeds, flower, or anything else weed-related, visit our website – we’ve got you covered!


