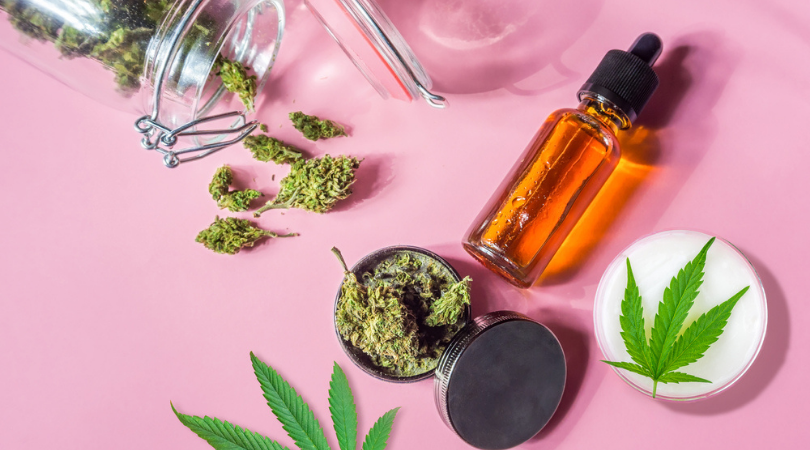
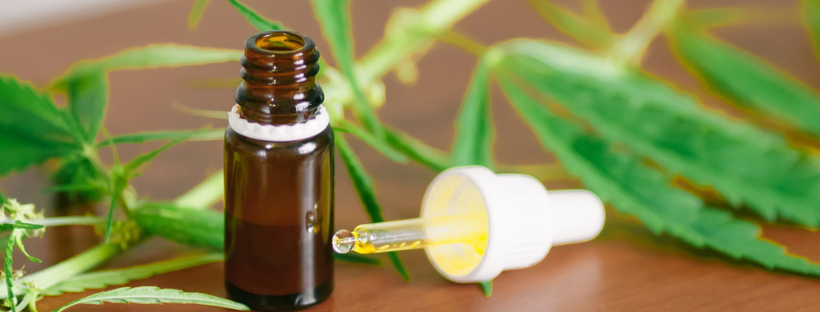
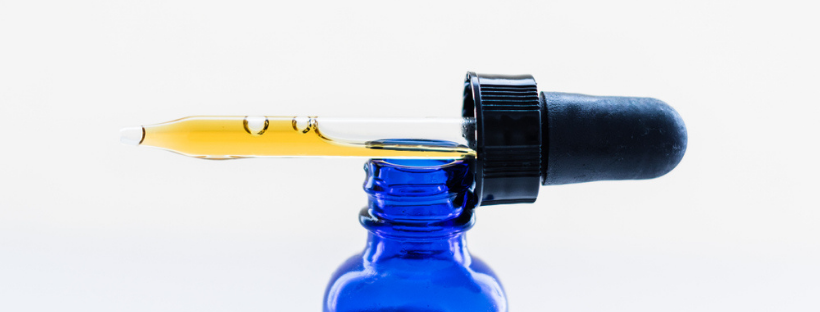
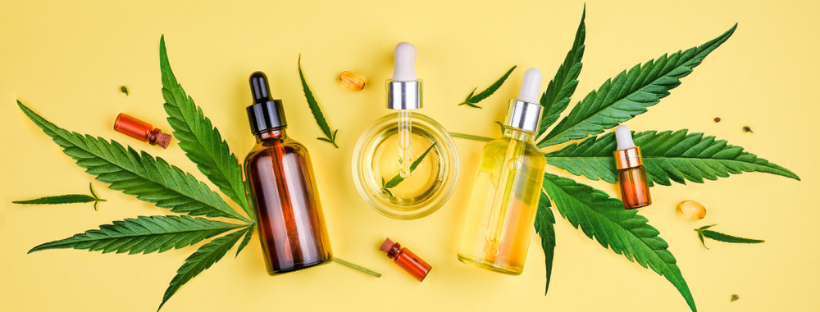
The practice of creating tinctures has been around for more than 1,000 years. Not long after the ancient Egyptians developed the distillation process, they began the practice of extracting what they believed was the healing power of herbs by soaking them in the alcohol they created. For them, the resulting liquid held all the beneficial elements of their chosen medicines in a small convenient bottle.
Today, tinctures are making a comeback in a big way. With a few basic materials that you may already have lying around your home and these easy-to-follow instructions, you too can create an elixir as ancient as the pyramids themselves.
Why Should I Try My Hand at Tinctures?
A tincture is a concentrated herbal extract taken from a plant and dissolved in ethanol. In this case, the extract comes from cannabis.
Before marijuana became illegal in the United States in 1937, tinctures were the most commonly used form of cannabis use. Up until October 2019, tinctures could not be sold legally in Canada. These products were among the many others, including cannabis edibles, topicals, concentrates, and extracts that were cleared to be sold legally for the first time.
Times are changing, and as these products become legal again across the States and Canada, more people are giving these a try.
Tinctures are typically stored in small, easy-to-transport bottles and administered using a dropper, which makes using tinctures very discreet. This liquid also does not come with the added smell of marijuana smoke, and it doesn’t come with the hassle of complicated delivery devices.
There are many different strains of tinctures on the market today, including CBD versions that do not contain THC, the psychoactive compound found in the cannabis plant, and other versions that do.
CBD and THC tinctures that are considered either full-spectrum or broad-spectrum will contain either all or most of the cannabinoid found in the hemp plant alone, which some people may prefer.
These can also be used in different ways, including sublingually, by placing drops under your tongue, or by adding the liquid to your favourite foods and beverages.
Finding the Right Alcohol
Alcohols as a chemical are very efficient at dissolving cannabis resin. This is why, in its denatured form, it is so great at freeing your bongs and pipes from the sticky by-product of combustion. However, while denatured alcohols (rubbing alcohol, isopropyl, methanol) are great solvents and antiseptics, they should be avoided for this process as they are not safe to ingest.
Steeping your ground flower in a solution of ethyl alcohol (also known as ethanol, liquor, red-eye, etc.) not only draws out the precious THC from the biological matter of the plant, it is also safe to consume in moderation and, as an added bonus, it won’t make you go blind.
When looking for the right alcohol to use for the extraction solution, look for high-proof, food-grade ethanol with which almost everyone is familiar.
Vodka and brandy are the historically traditional spirits used as well as high-octane rums such as Bacardi 151. But, by recent consensus, a rectified spirit such as Everclear grain alcohol is the go-to hooch.
With its potent alcohol percentage and neutral flavour profile, rectified spirits are ideal for creating a clean tincture without any unwanted tastes or contaminates.
The idea behind the alcohol soaking process is to protect the compounds that are found in the cannabis plant. The soaking process extracts terpenes and cannabinoids from the plant, unlike some other methods of using cannabis, which may destroy some of these compounds.
If you do not want to use alcohol, there is another good option. Glycerin can be a good replacement because it is a plant-based oil, but it may not work as well as alcohol.
What You’ll Need to Make Tinctures
Making your own tinctures is relatively easy, mainly because you probably have many of these items, if not all of them, already on hand. If you don’t, you should be able to find all of the needed items at any health food store.
You’ll want to start by choosing your specific cannabis flower or concentrate. When measuring your ingredients, you should try to keep your baseline flower-to-alcohol ratio around 1g to 40ml.
When choosing your alcohol, the higher the proof, the better. Shoot for something that is at least 140 proof, but keep in mind, options like Everclear work best.
You’ll also need an oven-safe dish, a glass canning jar with a lid, a second container for transferring the strained liquid, a fine-mesh strainer, cheesecloth or coffee filter, and a brown or blue glass dropper bottle.
Once you’ve gathered your supplies, you’re ready to get started.
Making Your Tinctures
When it comes to making a tincture, don’t be afraid. If you’ve ever made a pitcher of Kool-Aid, you should be successful here too. The concept is similar when it comes to tinctures. The idea is for all of the cannabis to dissolve, just like the drink mix powder.
If you’re using a marijuana flower, the first step is to grind it down until it’s very fine. The more surface area, the better, and the goal is to have as much of the material as possible.
Whether you choose ground cannabis or cannabis concentrate, you’ll want to put them through the decarboxylation process by slowly heating it at a low temperature. Set your oven to 100C, making sure the temperature does not exceed 150C.
While the oven is heating up, spread the marijuana flower evenly in the baking dish, then place it in the oven for about 30 minutes. Once the decarboxylation process is complete, let the cannabis cool for another 30 minutes before moving on to the next step.
After it cools down, put the decarbed cannabis in the glass jar first, then slowly add the alcohol. Depending on the size of the jar, you should have about three to five centimeters of room above the settled plant material in the jar.
Seal up the jar tightly and give it a good shake. At this point, the solution should change hue almost immediately. Don’t be surprised as the colour changes, though. It will eventually take on a green-black colour over the course of the next few weeks.
At this point, it’s also a good idea to slap on a piece of masking tape and mark it with a sharpie. Be sure to label it with the day you started the process, as well as the amounts of alcohol and cannabis used for future reference. This will allow you to fine-tune the potency for your next tincture.
How to Store Tinctures
After you’ve created your masterpiece, you’ll want to protect it for as long as you can. Remember, tinctures can last a long time if they are stored correctly.
Keep the jar of the finished product in a room-temperature, dry place, and away from sunlight. Patience is key for the next step because it’s best if you can let the finished tincture steep for a week or two before using it. During that time, make sure you’re checking on the jar and give it a good shake once a day. Agitating the solution helps draw out the cannabinoids and ensures all the ground material is allowed to be saturated.
After those weeks are up, grab your fine-mesh strainer, cheesecloth, or coffee filter, and the second container you had on standby. Line the strainer with the cheesecloth or filter and put the strainer over the second container.
Start by slowly pouring the solution on top, allowing it to drip through to the container below. Once all the liquid and material has been poured and scraped out of the steeping jar and into the filter, you can gently ball up and squeeze what is left behind and add it to the final mixture.
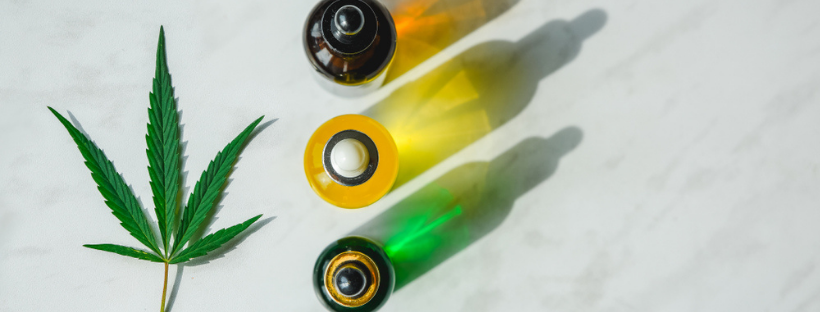
Carefully pour your tincture into the amber or blue glass dropper bottle. These are the best containers for storing your tincture because they protect the finished product from outside light.
The ideal storage spot for your tincture is in a room-temperature, dark spot. Cabinets, cupboards, or areas of a pantry situated away from strong light or heat sources are ideal for keeping your solutions potent. Refrigeration is not necessary as the natural preservative nature of the alcohol gives the tincture an almost unlimited shelf life.
Trying Your Tincture
After letting your finished tincture set for seven to 14 days, you can test out your finished product. Just as we noted when mixing the tincture initially, it’s not a bad idea to keep a journal of your dosages and results. Comparing and recording your ratio of alcohol to cannabis flower in the tincture to the amount you actually consume to find your perfect dose and delivery method is known as “self-titration” and is a great way to avoid any bad experiences before you find your perfect “wheelhouse” amount. Start slowly with a 1mL dose and note the effects. If it is too much for comfort, then take half the dose next time. If you think it’s not enough, then try doubling it to 2mL and so on.
Tinctures are best consumed by dropping the liquid in graduated amounts sublingually, meaning under the tongue. Cannabinoids are quickly absorbed across the mucus membranes in the mouth and are delivered directly into the bloodstream and on to the CB1R receptors in the brain. It can take as little as 15 minutes to start to feel the liquid take effect, and the high tends to last significantly longer than smoking, vaping, or consuming edibles, so plan accordingly.
Other consumption methods include adding a dose to your favourite carbonated beverage, juice, or flavoured drink. If you do not quite like the taste of your tincture, this can be a great way to mask it so you can more easily ingest it. If it’s the alcohol content that you wish to lessen, adding your potion to a hot beverage such as herbal tea will evaporate a bit of the alcohol and leave you with a taste that may be a bit more to your liking.
Cannabis tinctures can also be added to your favourite meals. You can add a measured dose to soups, sauces, and salad dressings, or it can even provide some extra enjoyment to desserts such as ice cream or milkshakes. Additionally, you can make edibles by adding the tincture to the liquid ingredients just as you would vanilla or almond extracts. Please note that eating or drinking your tincture will lengthen the time it takes for you to feel the effects as it has to pass through the stomach and liver before moving on to the brain much the same way as edibles do.
Buying Your Tincture
If you’re not one for science experiments or if making your own tincture just isn’t your favourite idea, you can always find one at a dispensary. If you plan to shop for a tincture instead of making one, make sure you know what you’re getting as far as compounds and alcohol-to-flower ratio are concerned because products can vary quite a bit.
Buying a completed product from a trusted dispensary may be a good idea if you’re new to tinctures or cannabis altogether. There’s a huge selection of tincture products already out there aside from tincture liquids. Tincture topicals are starting to pop up in dispensaries, and they’re designed in a similar way to CBD oils and creams. They’re meant for topical or external use, and they’re only found in CBD form. That’s because the THC in tincture would not be able to pass through your skin or react with your system in the same way it does when it’s ingested.
Closing Thoughts
Cannabis tinctures have a pretty long shelf life, thanks in part to their alcohol base. In some cases, tinctures can last for several years if they’re stored properly. Tinctures may be a great choice for someone who is new to the world of cannabis, and they can be a fun way to create something the ancient Egyptians would envy.

